Introduction
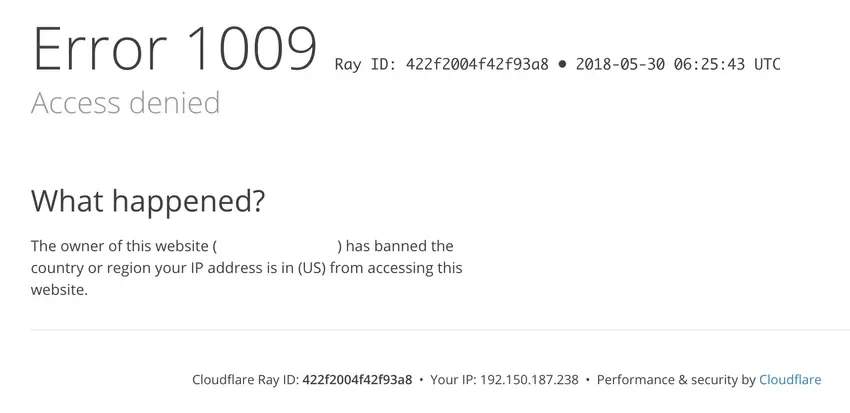
While hunting on a bug bounty program, I came across a target protected by Cloudflare WAF. Every payload I sent was getting blocked. Instead of trying to craft WAF evasion payloads, I took a different approach — find the origin server and bypass WAF entirely.
Finding the Origin IP
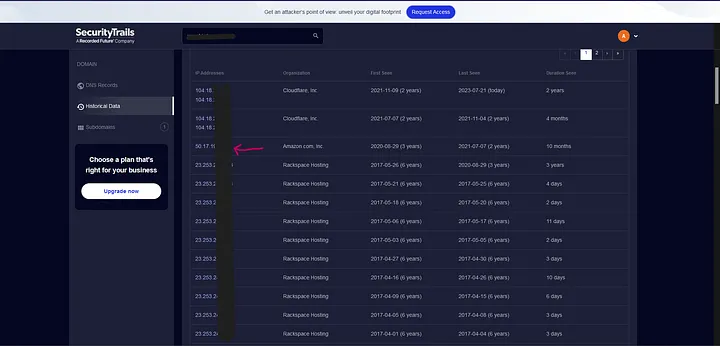
I used SecurityTrails to look up the historical DNS records and subdomains for the target domain. This revealed the origin IP address behind Cloudflare.
The 404 Problem
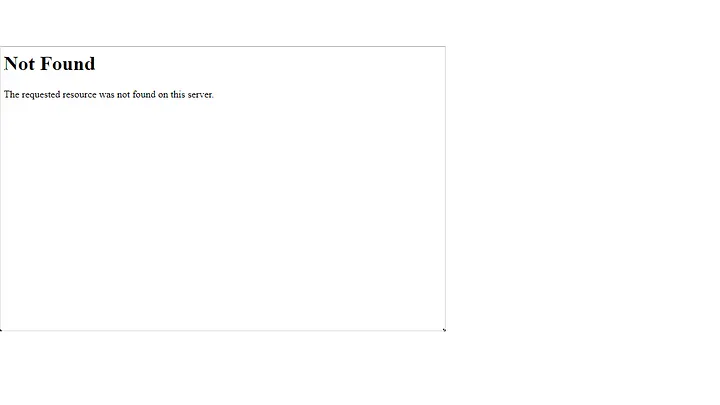
When I tried requesting the origin IP directly in the browser:
https://40.117.x.x/
I got a 404 error. This happens because the web server uses virtual hosting — when you request by IP, the HOST header is set to the IP address instead of the domain name, so the server doesn't know which site to serve.
The Simple Trick
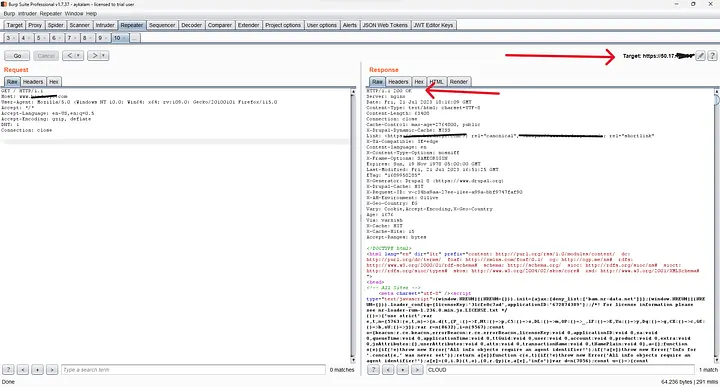
The fix was dead simple — change the HOST header to the target domain:
GET / HTTP/1.1
Host: target.com
When sending this request to the origin IP with the correct HOST header, the server responded with the full website — without any Cloudflare headers or WAF protection.
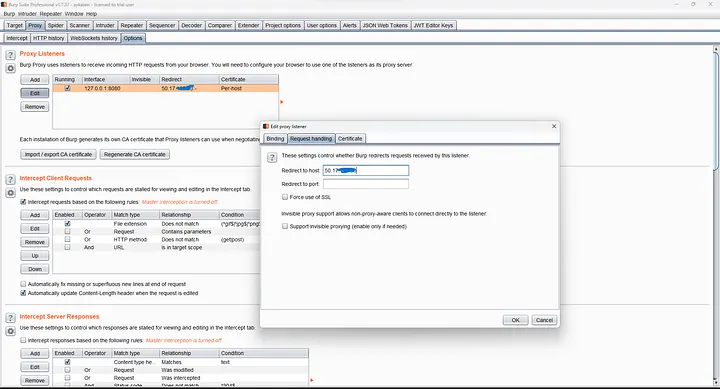
Configuring Burp Suite
To route all traffic through the origin IP and bypass WAF completely:
- Go to Project Options > Connections > Hostname Resolution Overrides
- Add a rule:
target.com→40.117.x.x(the origin IP)
Now all requests in Burp go directly to the origin server, completely bypassing Cloudflare WAF.
Result
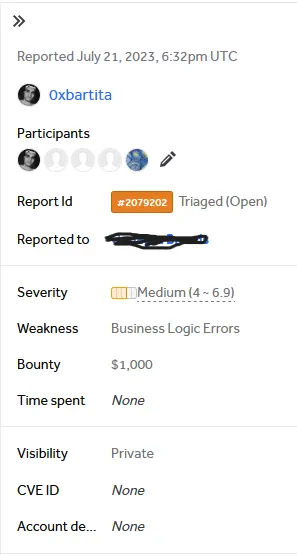
With WAF out of the way, I was able to test the application properly and find vulnerabilities that were previously blocked. This earned me a $1,000 bounty.
Key Takeaways
- Don't waste time crafting WAF bypass payloads — Try to find the origin IP first.
- SecurityTrails, Censys, and Shodan are your friends for finding origin servers.
- If you get a 404 when accessing the origin IP — change the HOST header to the target domain.
- Use Burp's hostname resolution override to redirect all traffic to the origin.
TL;DR
When you face a 404 or any error trying to bypass WAF via origin IP, try changing the HOST header to the target domain.
Originally published on Medium